Diary of a Retro Collector: Week 21
Not exactly a weekly round up this week. But a single topic that actually could spawn an entire video or podcast on its own. Yellowing of retro consoles is a real thing and un-doing it is a big task. So here’s what I’ve been up to this week.
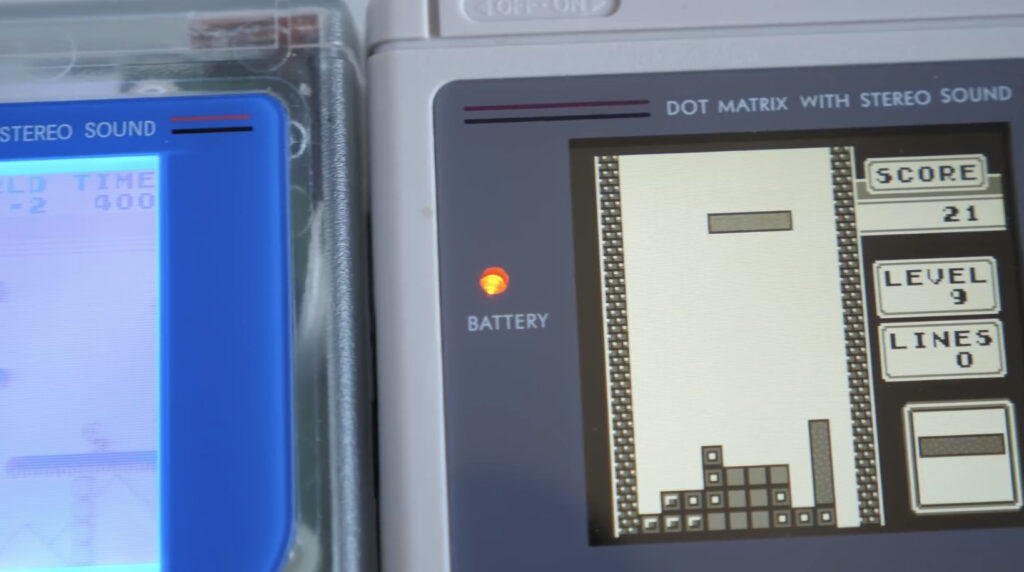
Game Boy DMG “Play it Loud” Clear – eBay Auction
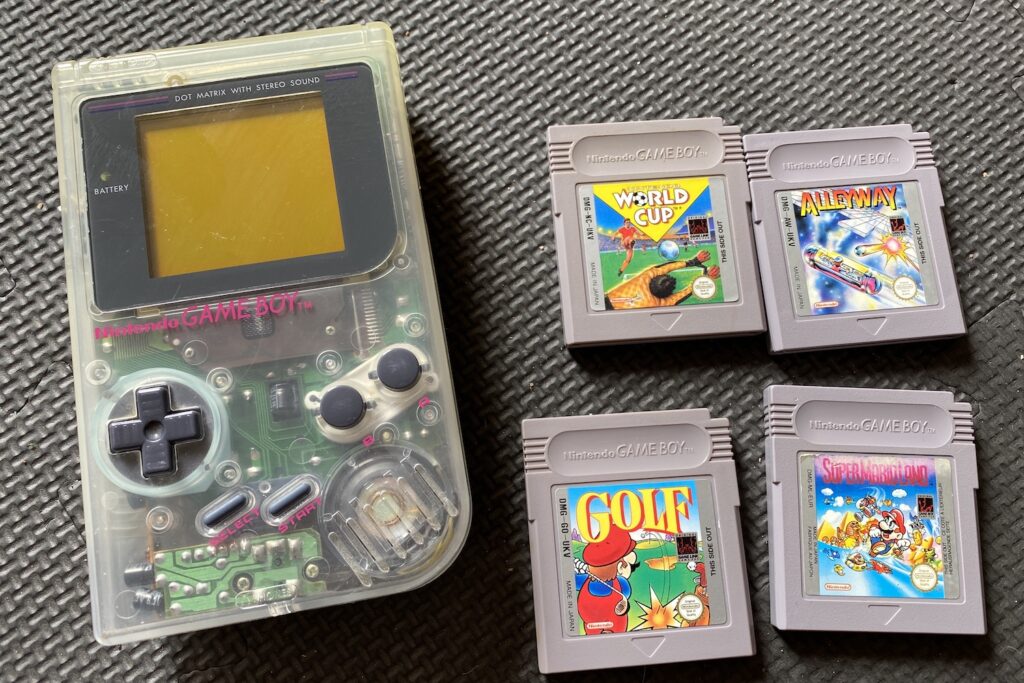
I already have a diverse collection of Game Boys, you probably won’t be surprised to hear, including original DMGs. but strangely none are of the PLAY IT LOUD coloured housing range – or in this case, lack of any colour with the original see-thru transparent shell. But also, with my lockdown situation, I needed a DMG to measure up for an upcoming project and everything is in storage about 120 miles away. So I needed to grab one on the fly.
This bundle I won on auction after a quick search revealed that Game Boy console prices have risen dramatically since I first started collecting a good 6 years ago, for convenience I probably overpaid here against market prices, but I’m not concerned. Back then most retro shops and even eBay had Yellow ones, pockets and Game Boy Advances for £15-£20. Now, you are lucky to get consoles unboxed for below £30 really. Recently I have even started helping a friend get a Game Boy Colour and he faced exactly this challenge. In this listing I won, it also included some bundled games that are a bonus but nothing I don’t already have. Maybe I will keep them as test carts or pass them on.
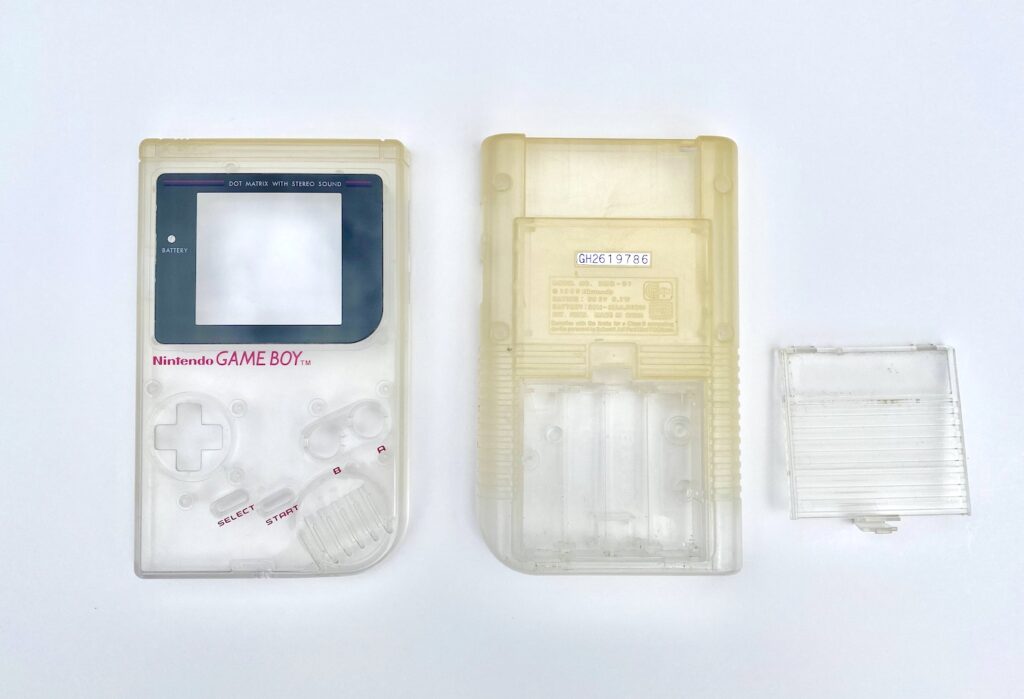
What I didn’t realise at the time of bidding this particular one, is despite being in excellent condition otherwise, theres quite a bit of yellowing. Not the end of the world at all, but now I have an added task of restoring this guy as much as possible and reversing the yellowing is a process that takes care. There’s a few different processes to reverse this yellowing; you can use a mixture called Retro-Bite, or some Oxy-Action Whitener, or the
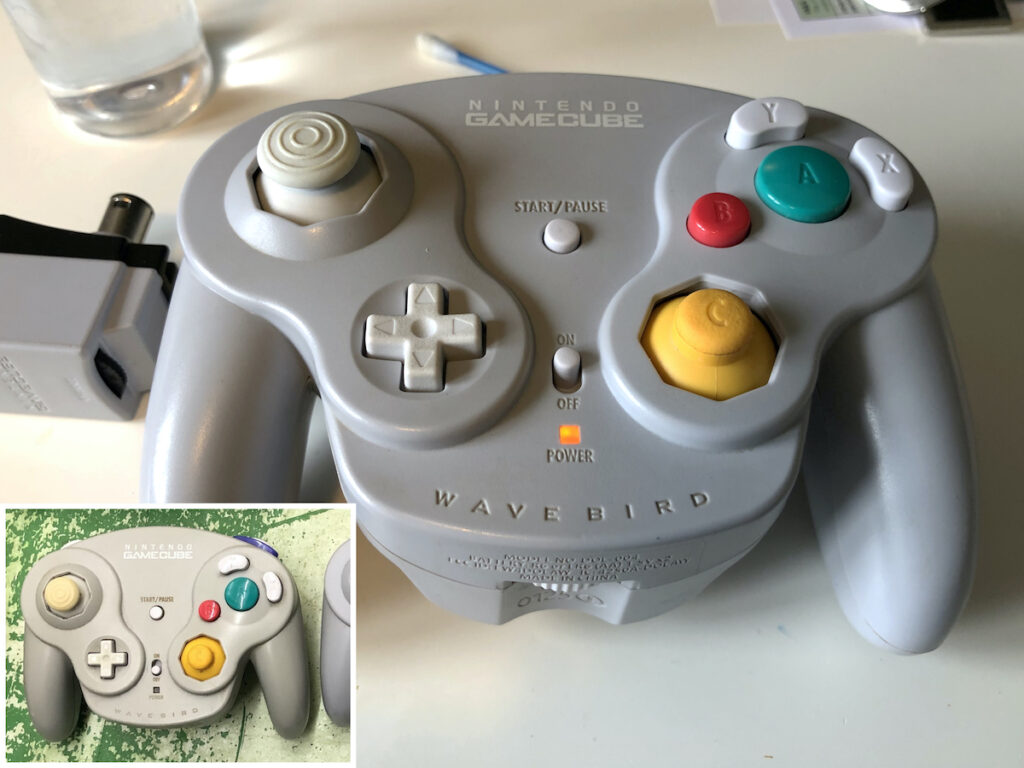
My approach with this guy, is the latter. We have just entered the summer season here in the UK and my garden is South facing, so should be able to get a solid 6-8 hours of direct sunlight for a couple of weeks to see the effects. I did this before with a GameCube Wavebird controller for a friend and did an excellent job. See below photo to show a before an after. So I am very hopeful that I will be able to repeat the same success on this Game Boy and return it to it’s former glory.
Ofcourse, then, my OCD now demands that I get hold of the orginal Play It Loud hard plastic case that it came in. If I can get one with the full retail card inserts, Winning!!
Join me on Instagram and Twitter for more Retro Gaming related stuff.
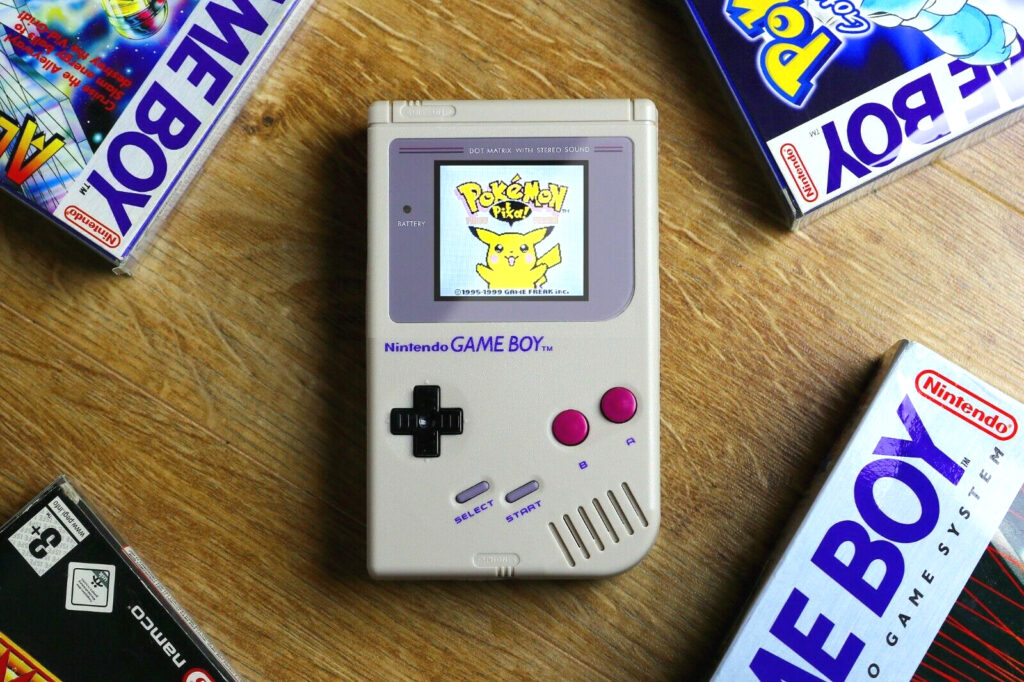
Saw this video from Colin at Does Not Compute on YouTube and it definitely got my excited. I am and always have been a huge GAME BOY fan. I still collect and play and play game boy games and currently working on a big SNES Game Boy Advance series project. I have done the classic Backlight and divert mod too to a few Game Boys now, including one for my own dear oldest brother Guy. The fact that the backlight kits are even a reality is an engineering feat itself in my opinion – bringing new life to older hardware is fun in so many ways.
As technology advances in all directions, it means certain components like better quality screens become available, at cheaper prices. Say a hi-res screen panel from a BlackBerry phone a few years back that cost hundreds of pounds, is now cheap enough for someone to utilise in updating a 1980s games console. So using modern components and a little engineering, clever souls can put together new advancements and package them up ready for guys like us to recreate. This new mod is bringing an IPS quality screen with improved colour contrasts to the original DMG bad boys and it looks so good.
Comparing the traditional Backlit & divert mod DMG to the new IPS panel
The full kit takes away a lot of the pain points that a lot of people face when doing the traditional backlit kits. In fact, you remove the entire front PCD where the original DMG screen is permanently attached too. Removing the risk of damaging the original screen and creating the vertical lines seen or breaking it completely, as the old screen is quite fragile. Some will argue though that as you are removing half of the original hardware, you may as well just buy a Raspberry Pi kit like the RetroFlag ones. But, I definitely see the value in this for enjoying original Game Boy cartridges without adding to the frown lines on my soon to be middle-aged face. Check out the video below from ‘
Availability is still rolling out I believe so not widely available in the obvious and usual modding stores yet, but I have found it on eBay here in the UK already for £55. https://www.ebay.co.uk/itm/Game-Boy-Backlit-Screen-LCD-IPS-Color-Kit-Speaker-DMG-Original-V2/254556087461?hash=item3b44b9a4a5:g:wQYAAOSwI5FeguKh
Love collecting? Are you a fellow model? Reach out on instagram or twitter and share with us your cool stuff.